
Wigwam Holidays How to: Build A Fire
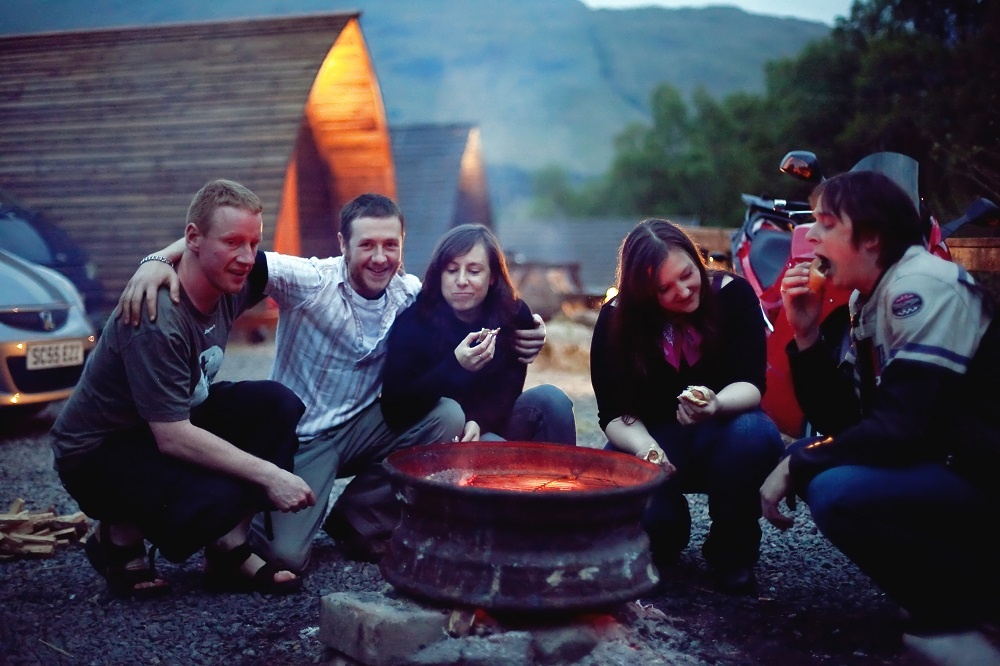
One of the best things about a Wigwam Holiday is having your very own fire right outside your Wigwam. Sitting under the stars, toasting marshmallows or cooking a sausage is just the best way (we think) to really have an amazing glamping experience. We think it’s so important that everyone can enjoy sitting around a fire, singing a few songs or having quiet conversation that we’ve written a guide on how to build a fire.
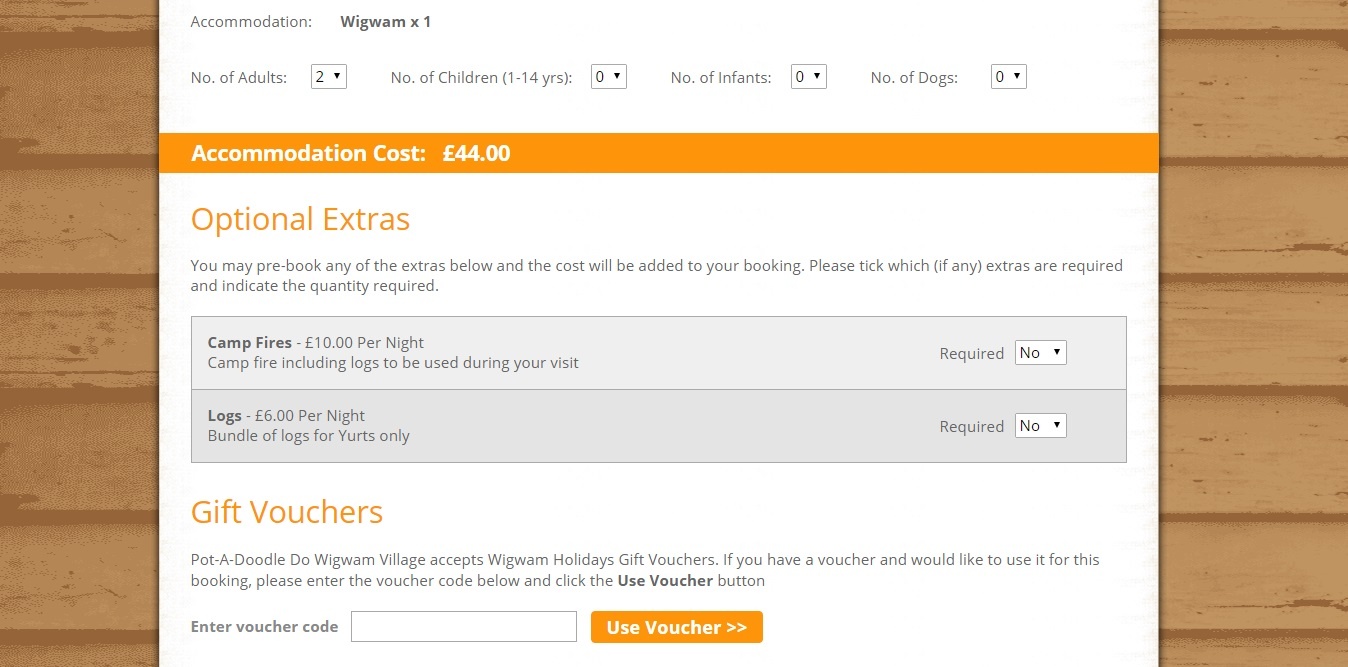
Many of our Wigwam sites provide glamping packages with a fire already made up for you – you can just book it online and the pre made fire will be set up and ready for you upon arrival. Wigwam® Holidays Humble Bee is one of these sites and they do a great a job of it.
However, if you want to get back to the basics and build your own fire here’s how to do it:
Step 1 – How to order your fire pit:
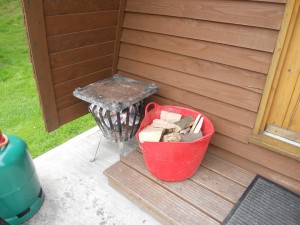
Some Wigwams come with a fire pit and others must be ordered in advance, so when you’re booking your Wigwam Holiday – be sure to order a fire pit or alternatively, do so when you arrive at the main reception when you check in.
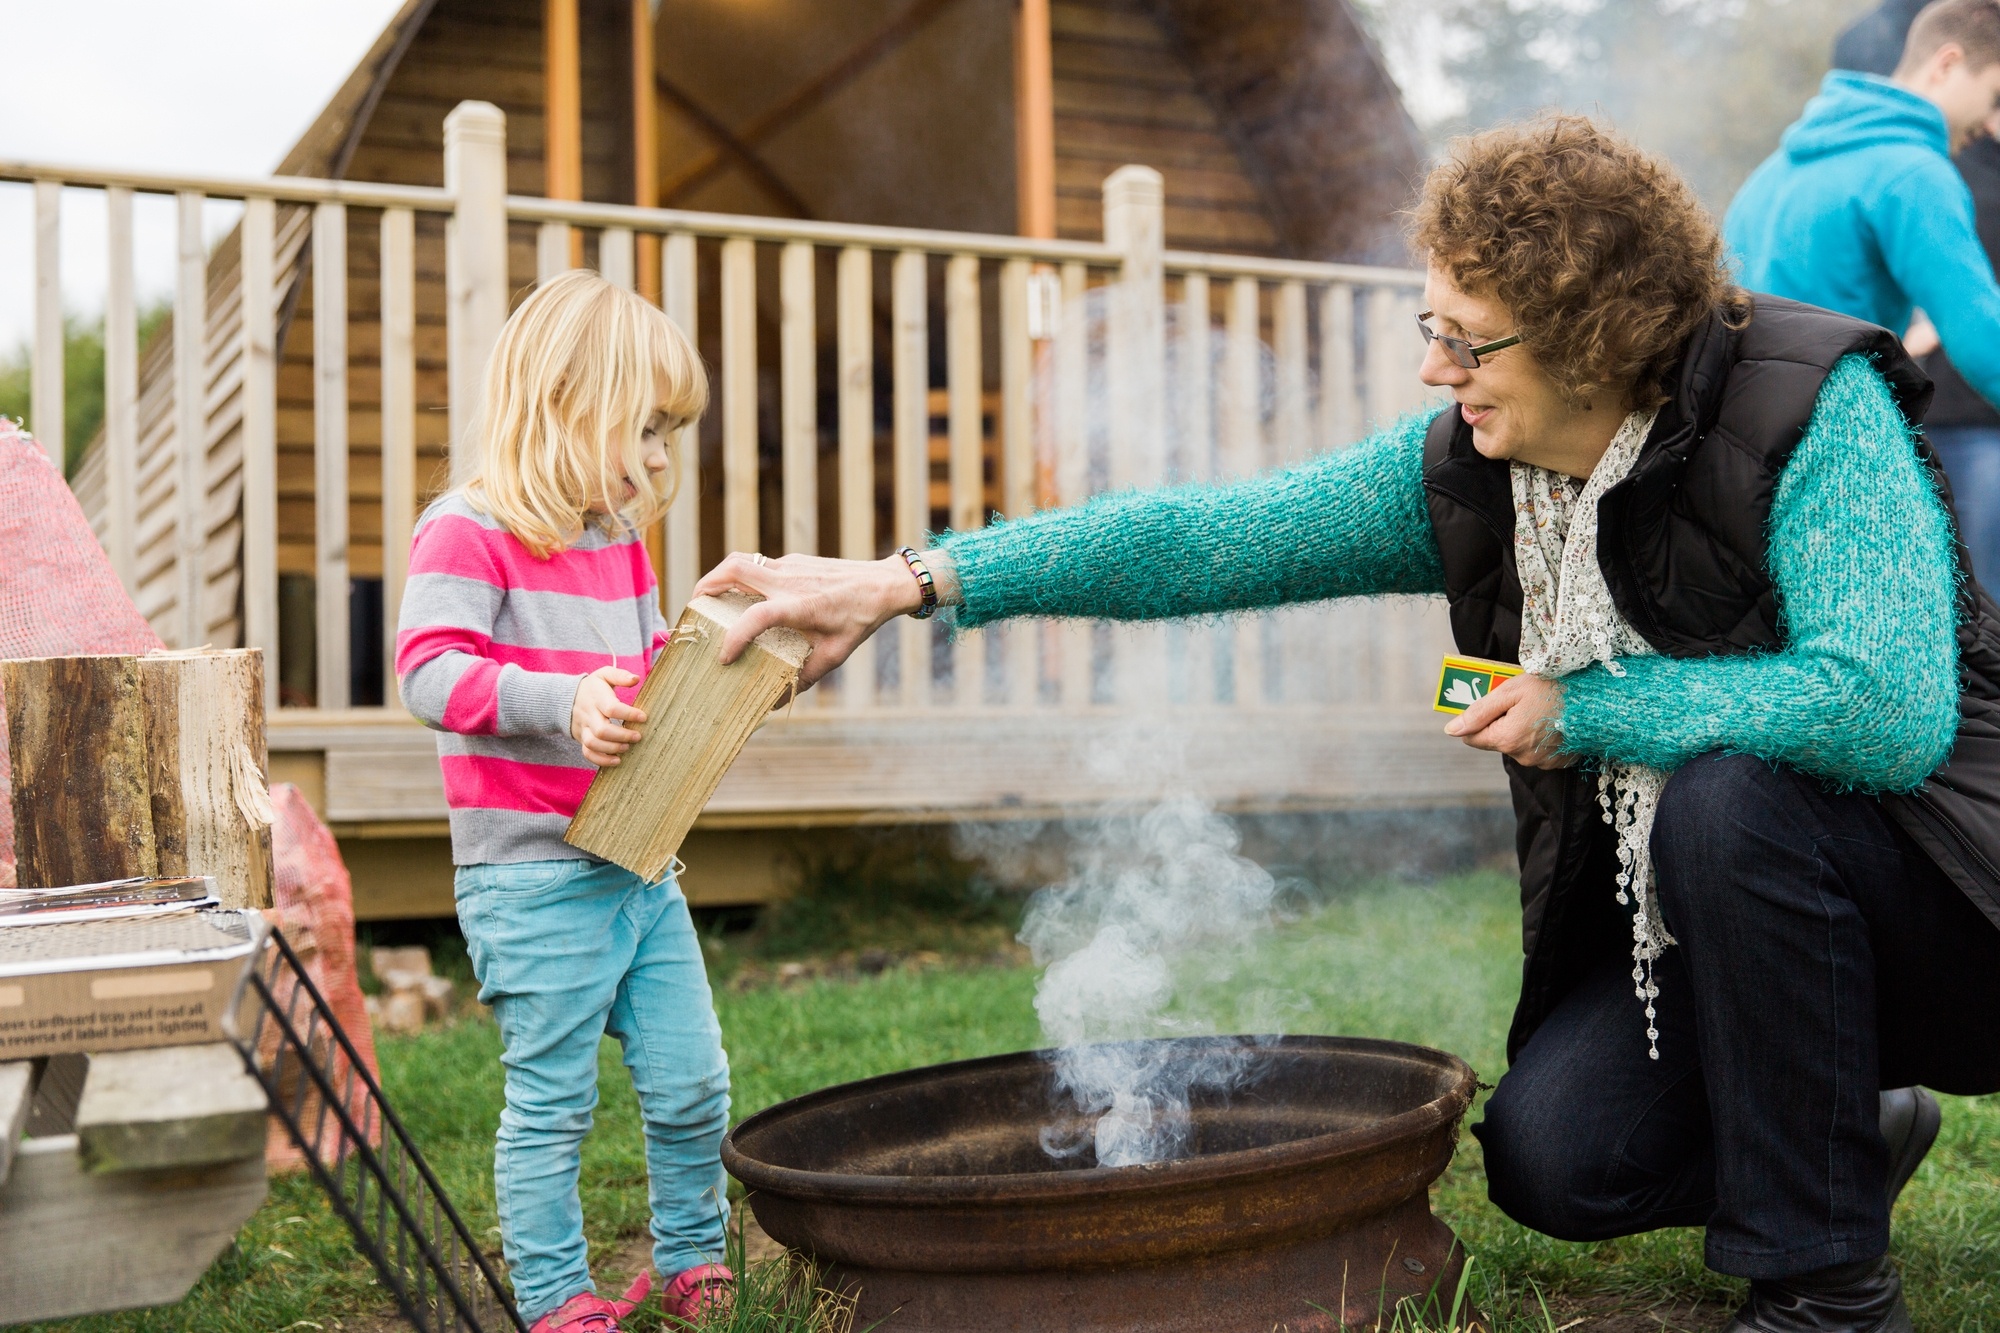
Step 2 – Source your fuel responsibly:
With so many people enjoying a fire by their Wigwam, it is just not sustainable for wood to be sourced from around the site. Many sites sell firewood in their shops or firewood can be purchased nearby.
If you are foraging for your own wood, it is best to use branches and logs, which aren’t attached to a tree, they are much drier and burn much better.
Step 3 – Building the fire:
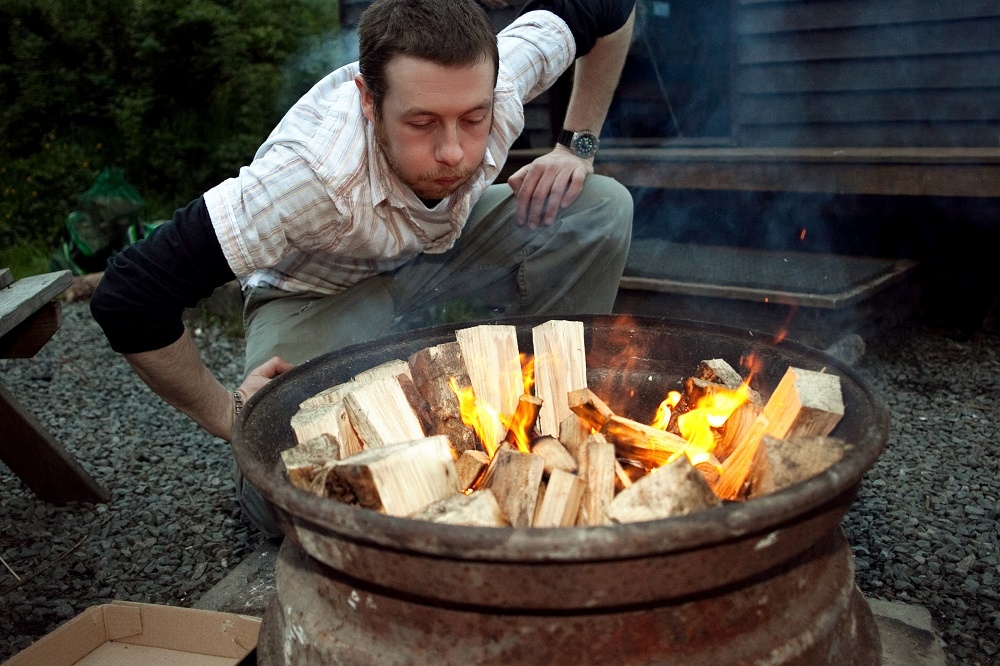
So, now you have a fire pit, and plenty of fuel, it’s time to build the fire. First of all, you will need to start the fire small. The best way to do this is to use newspaper or a firelighter and some kindling or small twigs/branches . Bunch the sheets newspaper into tightly packed balls and place them in the centre of the firepit. Then arrange the kindling around the newspaper to create a cone or tee pee shape.

Step 4 – Lighting the fire:
The fire is built, and you’re ready to light it, but what is the best way to light the fire? Matches or lighter with an extended head are our recommendations. When lighting the fire in a low down position you risk burning your hand with a regular lighter due to the positioning of the flame. Using the matches or lighter, light 3-5 different areas of the paper/firelighter around the bottom. This will create even spread and allow the flames to burn up the way and cause the surround kindling to light. If the wood is wet or the kindling is struggling to light, try blowing evenly and gentle on the fire to help things.
Step 5 – Maintaining the fire:
Awesome! The fire is lit and you’re ready to toast those marshmallows and warm up your hands, but wait! The small fire you’ve just built will not last very long and will require some maintenance to keep it going.
Once the kindling has caught, add some larger pieces of wood, these will burn slower, but for longer. When these bigger pieces have caught, consider adding a small log or two to really keep the fire burning and then just top up with large pieces of wood if you find it’s cooling down. Once the logs disappear, you may need to add more, but simply add wood as you feel appropriate.
Step 6 – Putting out the fire:
It’s time to retire to the Wigwam, but the fire is still going. It’s best to let the fire die out of it’s own accord, so if you know you’re heading to bed soon, stop adding any more wood about 30-45 minutes before you head to bed. If the fire still has flames it might be best put the fire out yourself. Carefully pour water over the fire until it’s completely extinguished. Don’t touch the fire even in the morning because it could still be warm.
Step 7 – Congratulations:
You just had a perfect night by a fire outside your Wigwam!

